部署基于Windwos Server 2008故障转移群集的Exchange2007 CCR
出处:Windows中文论坛 作者:eyong1210 时间:2008-9-11 12:14:48
很多朋友都做过WIN2003下面的EX2007 CCR,个人感觉操作有点繁琐,说句不好听的,成功率往往不如人意,呵呵。现在,Windows 2008与Exchange 2007 sp1都已经出来了,利用这个机会,做了一次Windows 2008故障转移群集中Exchange 2007 CCR的测试,相对来说操作更简单,基本上“next”就OK了。下面我们来看下整个过程吧:
测试机器说明(三台):
dc.proit.com : DC\DNS\EX_CAS\EX_HUBTransport\File Share
NIC:192.168.100.1\24
------------------------------
NodeA.proit.com : 主动群集节点
Public_NIC:192.168.100.2\24
private_NIC:172.16.10.1\24
------------------------------
NodeB.proit.com : 被动群集节点
Public_NIC:192.168.100.3\24
private_NIC:172.16.10.2\24
------------------------------
Windwos 2008 故障转移群集名称:EXCCR.proit.com
群集IP:192.168.100.100
Exchange 2007 CCR名称:proitexccr.proit.com
群集IP:192.168.100.200
------------------------------
1.在DC.proit.com机器上安装好AD、DNS以及Exchange 2007的客户端接入服务器角色与中心传输服务器角色。并创建一个共享文件夹,权限默认即可。
2.分别在 NodeA.proit.com和NodeB.proit.com机器中安装以下组件:
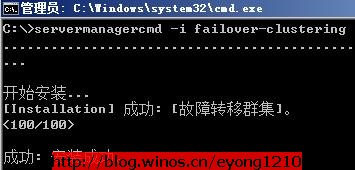
在“CMD”命令行中输入:
Servermanagercmd -i Failover-clustering
安装故障转移群集
Servermanagercmd -i powershell
安装powershell
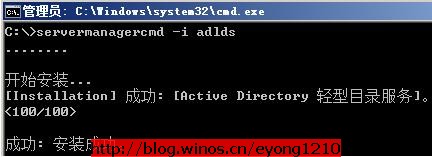
Servermanagercmd -i ADLDS
安装轻型目录服务
Servermanagercmd -i web-server
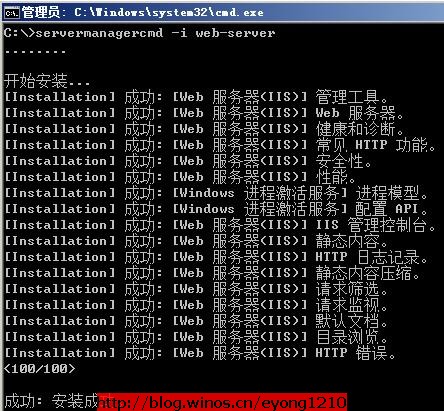
Servermanagercmd -i web-isapi-ext
Servermanagercmd -i web-metabase
Servermanagercmd -i web-lgcy-mgmt-console
Servermanagercmd -i web-basic-auth
Servermanagercmd -i web-windows-auth
3.全部安装完成后,下面我们在NodeA.proit.com这台机器来创建一个群集
在管理工具中打开“故障转移群集管理器”

点击“验证配置”,我们先来验证下两个节点的网络配置
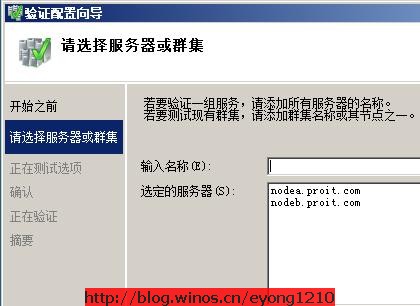
在此输入两台节点机器的FQDN名

此处选择第二项“运行自定义测试”
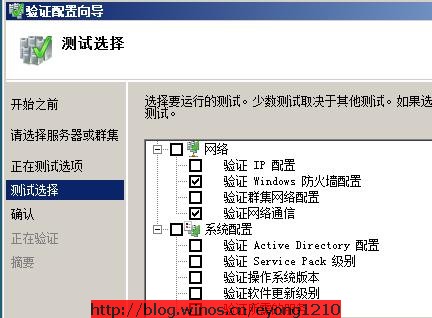
此处我们只需勾选图中的二处地方即可
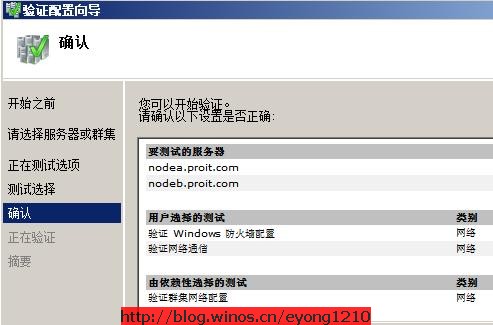
确认验证配置
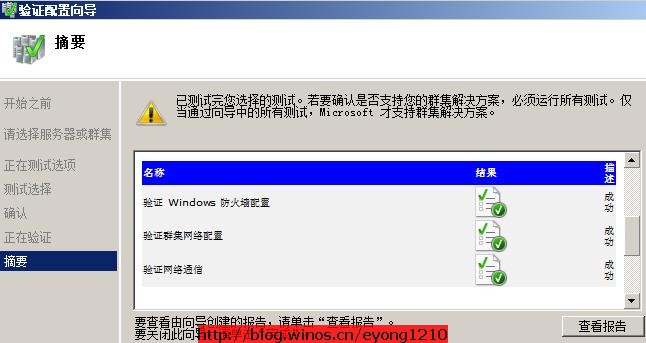
验证配置成功!
接下来,我们来开始创建一个群集:
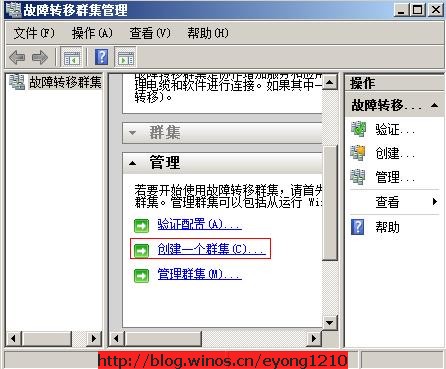
点击“创建一个群集”

同样输入两个节点机器的FQDN名
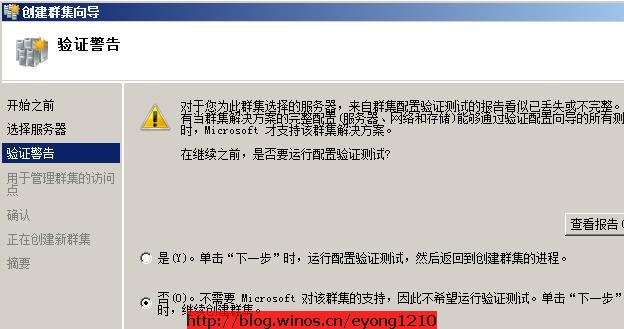
选择第二项,不需要MS对该群集的支持,下一步
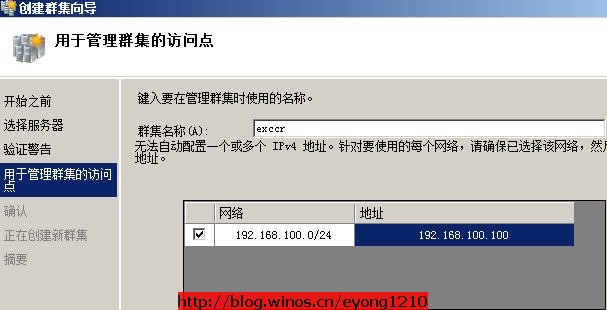
输入群集名称及群集IP地址
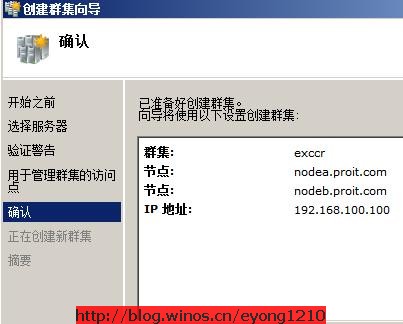
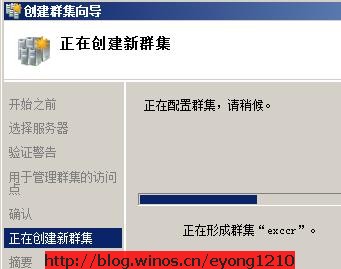
确认群集相关信息

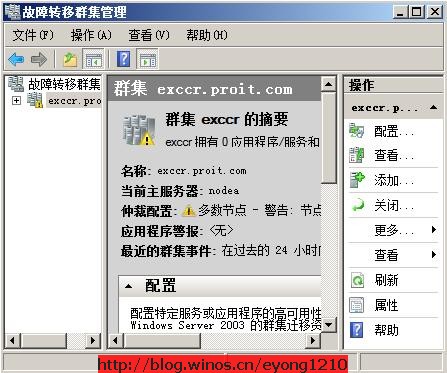
成功完成群集的创建后,我们发现在仲栽配置处有一个警告信息,这是因为我们还没有配置群集仲栽资源。在这里,我们使用DC上的MSN文件共享来提供。
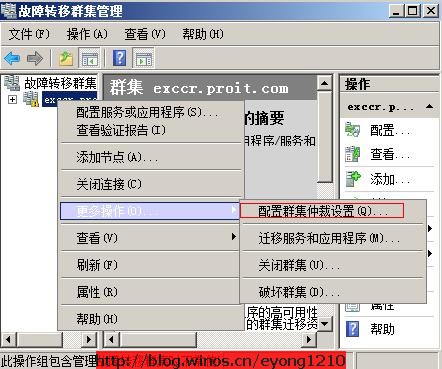
选择“配置群集仲栽配置”
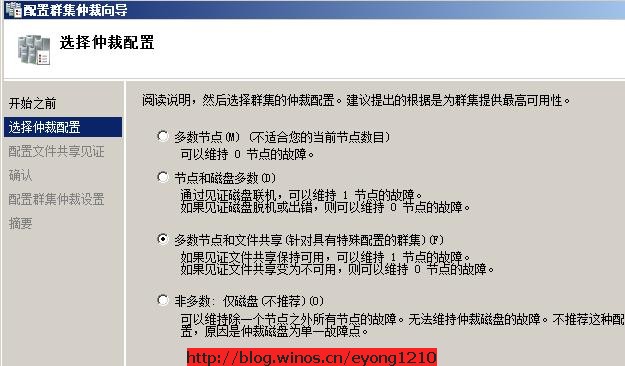
选择“多数节点和文件共享”,下一步
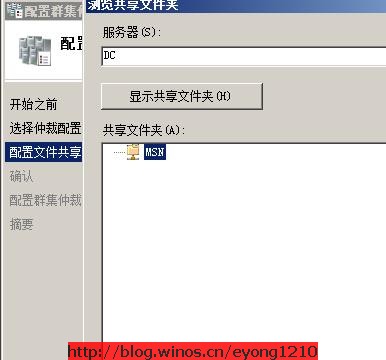
此处选择DC上的共享文件夹:MSN
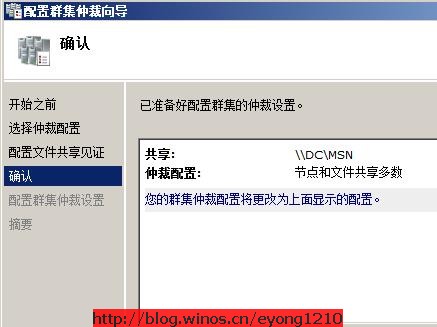
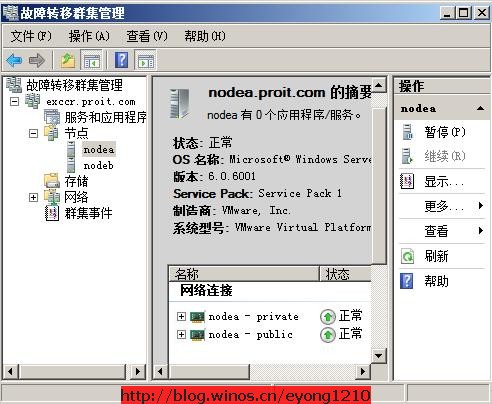
成功完成了仲栽的配置,至此,Windows Server 2008的群集平台创建好了,下面我们就开始安装Exchange Server 2007的群集连续复制(CCR)了。
4.安装Exchange Server 2007 CCR
在NodeA.proit.com机器上执行Exchange 2007安装程序

选择“主动群集邮箱角色”

选择“群集连续复制”并输入群集邮箱服务器名

输入群集IP地址后,点击下一步完成安装,安装成功后,我们再在NodeB.proit.com机器上来安装被动群集邮箱角色。
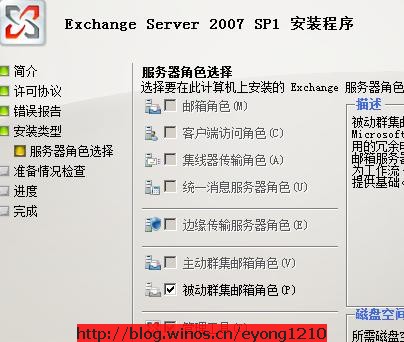
勾选“被动群集邮箱角色”下一步等待安装完成。
测试机器说明(三台):
dc.proit.com : DC\DNS\EX_CAS\EX_HUBTransport\File Share
NIC:192.168.100.1\24
------------------------------
NodeA.proit.com : 主动群集节点
Public_NIC:192.168.100.2\24
private_NIC:172.16.10.1\24
------------------------------
NodeB.proit.com : 被动群集节点
Public_NIC:192.168.100.3\24
private_NIC:172.16.10.2\24
------------------------------
Windwos 2008 故障转移群集名称:EXCCR.proit.com
群集IP:192.168.100.100
Exchange 2007 CCR名称:proitexccr.proit.com
群集IP:192.168.100.200
------------------------------
1.在DC.proit.com机器上安装好AD、DNS以及Exchange 2007的客户端接入服务器角色与中心传输服务器角色。并创建一个共享文件夹,权限默认即可。
2.分别在 NodeA.proit.com和NodeB.proit.com机器中安装以下组件:
在“CMD”命令行中输入:
Servermanagercmd -i Failover-clustering
安装故障转移群集
Servermanagercmd -i powershell
安装powershell
Servermanagercmd -i ADLDS
安装轻型目录服务
Servermanagercmd -i web-server
Servermanagercmd -i web-isapi-ext
Servermanagercmd -i web-metabase
Servermanagercmd -i web-lgcy-mgmt-console
Servermanagercmd -i web-basic-auth
Servermanagercmd -i web-windows-auth
3.全部安装完成后,下面我们在NodeA.proit.com这台机器来创建一个群集
在管理工具中打开“故障转移群集管理器”
点击“验证配置”,我们先来验证下两个节点的网络配置
在此输入两台节点机器的FQDN名
此处选择第二项“运行自定义测试”
此处我们只需勾选图中的二处地方即可
确认验证配置
验证配置成功!
接下来,我们来开始创建一个群集:
点击“创建一个群集”
同样输入两个节点机器的FQDN名
选择第二项,不需要MS对该群集的支持,下一步
输入群集名称及群集IP地址
确认群集相关信息
成功完成群集的创建后,我们发现在仲栽配置处有一个警告信息,这是因为我们还没有配置群集仲栽资源。在这里,我们使用DC上的MSN文件共享来提供。
选择“配置群集仲栽配置”
选择“多数节点和文件共享”,下一步
此处选择DC上的共享文件夹:MSN
成功完成了仲栽的配置,至此,Windows Server 2008的群集平台创建好了,下面我们就开始安装Exchange Server 2007的群集连续复制(CCR)了。
4.安装Exchange Server 2007 CCR
在NodeA.proit.com机器上执行Exchange 2007安装程序
选择“主动群集邮箱角色”
选择“群集连续复制”并输入群集邮箱服务器名
输入群集IP地址后,点击下一步完成安装,安装成功后,我们再在NodeB.proit.com机器上来安装被动群集邮箱角色。
勾选“被动群集邮箱角色”下一步等待安装完成。
| 自由广告区 |
| 分类导航 |
| 邮件新闻资讯: IT业界 | 邮件服务器 | 邮件趣闻 | 移动电邮 电子邮箱 | 反垃圾邮件|邮件客户端|网络安全 行业数据 | 邮件人物 | 网站公告 | 行业法规 网络技术: 邮件原理 | 网络协议 | 网络管理 | 传输介质 线路接入 | 路由接口 | 邮件存储 | 华为3Com CISCO技术 | 网络与服务器硬件 操作系统: Windows 9X | Linux&Uinx | Windows NT Windows Vista | FreeBSD | 其它操作系统 邮件服务器: 程序与开发 | Exchange | Qmail | Postfix Sendmail | MDaemon | Domino | Foxmail KerioMail | JavaMail | Winwebmail |James Merak&VisNetic | CMailServer | WinMail 金笛邮件系统 | 其它 | 反垃圾邮件: 综述| 客户端反垃圾邮件|服务器端反垃圾邮件 邮件客户端软件: Outlook | Foxmail | DreamMail| KooMail The bat | 雷鸟 | Eudora |Becky! |Pegasus IncrediMail |其它 电子邮箱: 个人邮箱 | 企业邮箱 |Gmail 移动电子邮件:服务器 | 客户端 | 技术前沿 邮件网络安全: 软件漏洞 | 安全知识 | 病毒公告 |防火墙 攻防技术 | 病毒查杀| ISA | 数字签名 邮件营销: Email营销 | 网络营销 | 营销技巧 |营销案例 邮件人才:招聘 | 职场 | 培训 | 指南 | 职场 解决方案: 邮件系统|反垃圾邮件 |安全 |移动电邮 |招标 产品评测: 邮件系统 |反垃圾邮件 |邮箱 |安全 |客户端 |